18th Century Waistcoat Reflection:
Looking back on what I did within this mini project I feel I learnt a lot. The construction process of this piece of work was hugely beneficial to me. I really wanted to create a piece I felt pleased with. I tried hard to create a crisp finished piece and tried to be as accurate as possible. I feel my construction skills have hugely benefited from working this way. Although there are areas that as still in need of further development I am pleased with my final outcome.
Time restraints are always going to be an issue with the industry I am going into but through this project I feel I am beginning to develop my speed as well as my accuracy.
Reflecting back on this piece of work, there are still areas I need to work on. The crispness of the finished edges of the waistcoat could be sharper, however the nature of the material I was working with did make this slightly harder as it was really soft and didn't create that sharp edge.
The decoration that was chosen for my waistcoat may not have been the most suitable. The button although very beautiful and matched the braiding decoration, were very heavy metal buttons. The moleskin fabric that I used to create the waistcoat is not very strong to support the weight of the buttons so the buttons may slightly pull the fabric.
I really enjoyed making the waistcoat and I am pleased with the final product
Saturday, 12 May 2012

18th Century Waistcoat continued:
Through the last couple of weeks the waistcoat has taken great shape. In this making process I have been very precious with all my stitching lines. I wanted to create a final piece I would be proud of.
However this has meant taking longer on sections are re doing pieces, the extra time taken has been very worth while though.
In the construction of the waistcoat the first thing we had to do, after cutting out the fabric, was creating the pockets on the waistcoat front. This was a daunting thing to do as the first process as it meant snipping into your fabric to create the pocket mouth. If you do this stage wrong then the look of the garment will be ruined.
You had to be extremely careful with your measurements through this stage and also make sure everything matched on the other side of the waistcoat. It was an extremely fiddly process to get correct and on one half of my pocket the uprights of the pocket mouth were very slanted instead of upright.
I could either leave the pocket mouth like that and hope that with prick stitching that it would look better or I would have to cut out the front again.
Even though I lost time I cut out a whole new front of my waistcoat and re did the pocket. This was a great learning curve for me as it taught me the delicacy of costume making and a chance to re do my mistakes rather than just leaving them.
Once the pockets were assemble the waistcoat could be put together in its two half, the lining waistcoat and the front of the waistcoat, these processes were reasonable easy and came together well.
The next very time consuming aspect of the waistcoat was the decoration. Our tutor wanted the front of the waistcoats decorated as they would have been in the 18th century.
However in the 18th century waistcoats would have been heavy embroidered by hand which would just not have been possible for us.
Below are some examples of the embroidery of the time:


The decoration we hand stitched to our waistcoats was much less detailed than this. However within the short time scale we had to complete our garment a lot of care and time was needed to apply the braiding we were given. to make sure the braiding was straight and that the stitching we did to attach the braiding to the front of the waistcoat was as invisible as possible.
We took extra time on the braiding to make sure it was perfect, however this did cause us to take longer with the final construction of our waistcoat so we did not complete it on time.
The extra time we took with the braid made a hug difference to the final finished garment however so was worth the extra care.
The extra time we took with the braid made a hug difference to the final finished garment however so was worth the extra care.
Once the braiding was complete the waistcoat was easy to assemble the hems were stitched together, then we slip stitched the arm holes, the facing an the lining together, machine stiched the collar on an the slip stitched the lining to the collar.
The final touches were the buttons and button holes.
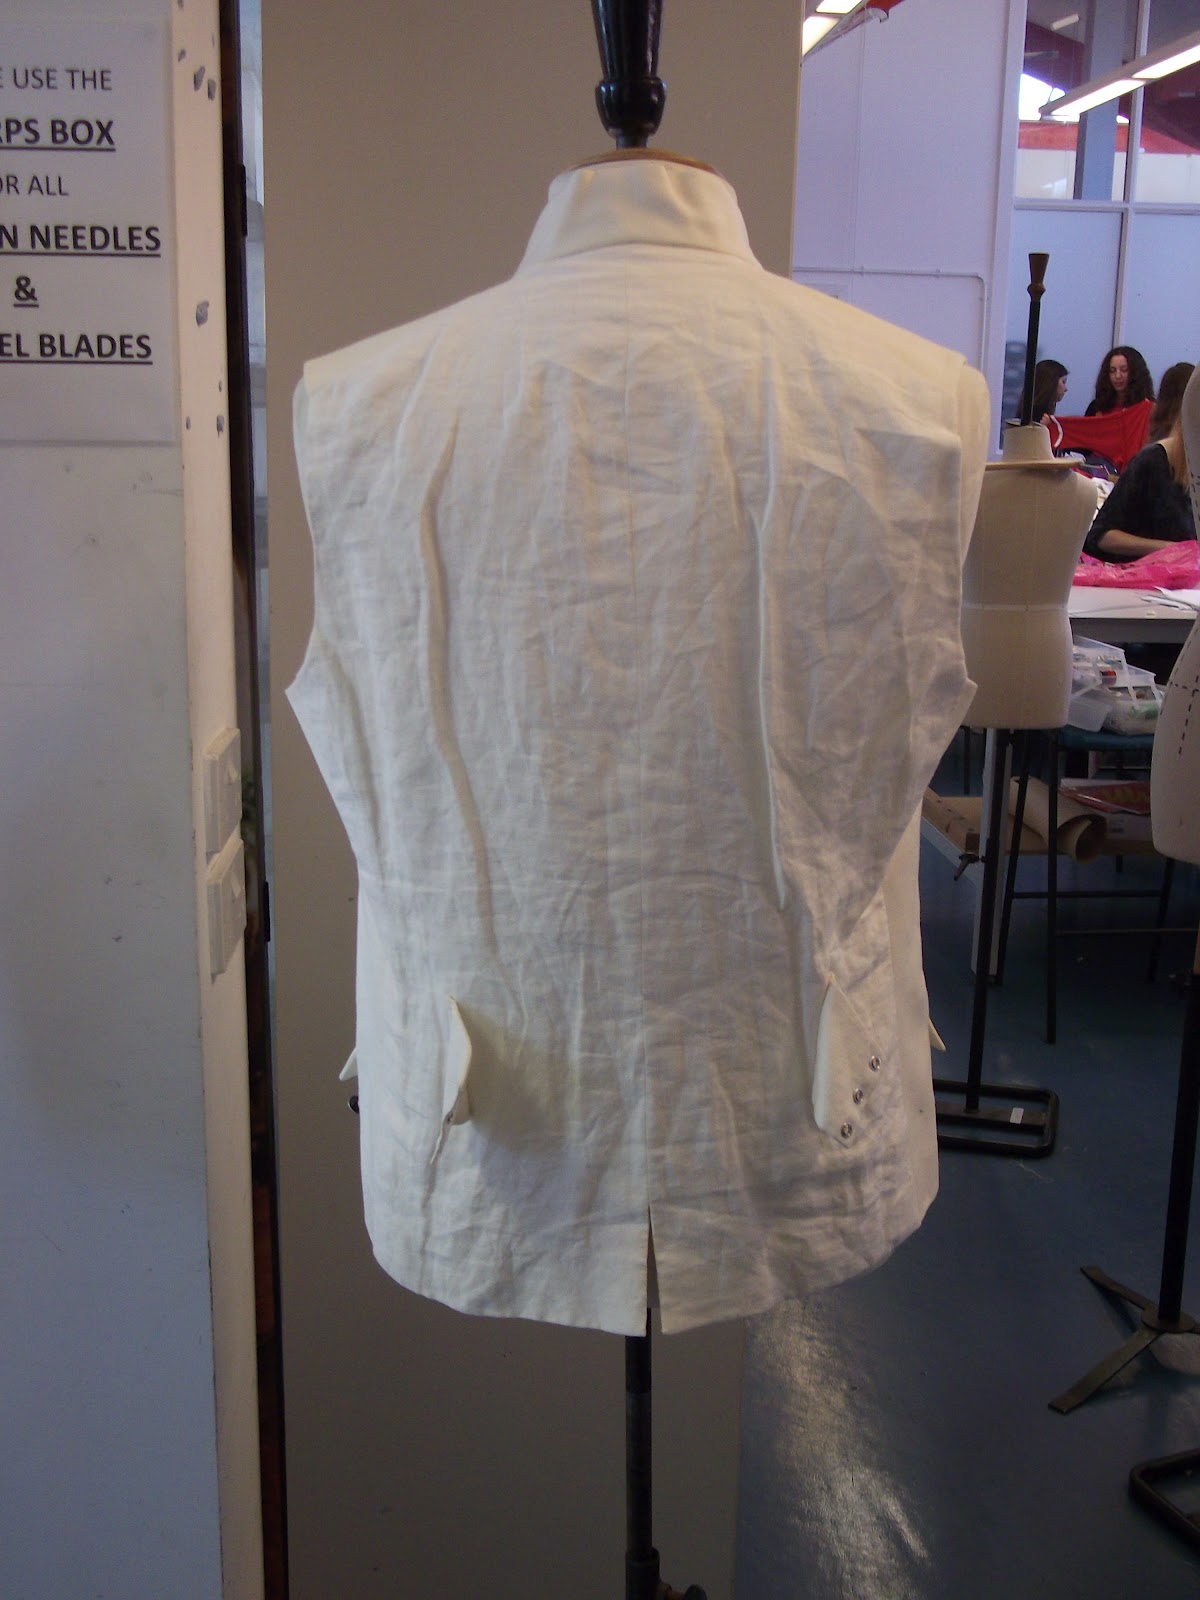
Below are the final image:

Tuesday, 24 April 2012
Once Upon A Tease:
Since I last blog about Once Upon a Tease, rather a lot has had to change and be re thought due various reasons.
The final designs had been chosen, 8 corsets were to be made by the team working on Once Upon a Tease. Fabrics of various price and colour were sourced to present to the company to decide which were best suited to the designs. However due to the nature of the corset making the estimate for the budget of the 8 corsets and bustle was a little to big.
This was an obstacle that had to be discussed with the company to see how was best to proceed.
Due to time, work load and budget the company decided to create 3 over bust corsets and 2 full bodied corsets and 5 bustles.
It was very very handy, when dealing with the issue of the budget, to have one person supervising the project. Without having such a person the project would not have started. The company would not have been impressed with our lack of planning before meeting with them to discuss money and other details.
Naomi took up the roll of supervisor and because she organised the budget so well, the company and the makers could then make much clearer decisions on fabrics etc.
Below are the 2 designs now being created:
x's 2

x's 3

. Because 2 corsets were dropped from production, 2 people lost corsets to make; as a compromise Naomi took up the job of supervisor and Stephanie has taken up construction of a number of bustles
Time Plan:
. Patterns fully drafted this week
.Cut out in top material by the end of the week
Since I last blog about Once Upon a Tease, rather a lot has had to change and be re thought due various reasons.
The final designs had been chosen, 8 corsets were to be made by the team working on Once Upon a Tease. Fabrics of various price and colour were sourced to present to the company to decide which were best suited to the designs. However due to the nature of the corset making the estimate for the budget of the 8 corsets and bustle was a little to big.
This was an obstacle that had to be discussed with the company to see how was best to proceed.
Due to time, work load and budget the company decided to create 3 over bust corsets and 2 full bodied corsets and 5 bustles.
It was very very handy, when dealing with the issue of the budget, to have one person supervising the project. Without having such a person the project would not have started. The company would not have been impressed with our lack of planning before meeting with them to discuss money and other details.
Naomi took up the roll of supervisor and because she organised the budget so well, the company and the makers could then make much clearer decisions on fabrics etc.
Below are the 2 designs now being created:
x's 2

x's 3

. Because 2 corsets were dropped from production, 2 people lost corsets to make; as a compromise Naomi took up the job of supervisor and Stephanie has taken up construction of a number of bustles
Time Plan:
. Patterns fully drafted this week
.Cut out in top material by the end of the week
Sunday, 22 April 2012
Breathe:
Cloak Continued:
After the base costume was create into the right shape we took the cloak to a Breathe Together Club to paint the inside of the cloak so then when the Breathers are dancing in the parade the white wouldn't flash across and take away from the Hunters look.
Once this had been done and dried we moved on to decorating the top of the cloak. Grace Mortlock designed the idea of the decoration with layered up fabrics with the different textured. We attached these to the base cloth using a free embroidery foot to create circles. This was to link in the barnacles that would be attached later.
This is what was created from the top decoration:

Cloak Continued:
After the base costume was create into the right shape we took the cloak to a Breathe Together Club to paint the inside of the cloak so then when the Breathers are dancing in the parade the white wouldn't flash across and take away from the Hunters look.
Once this had been done and dried we moved on to decorating the top of the cloak. Grace Mortlock designed the idea of the decoration with layered up fabrics with the different textured. We attached these to the base cloth using a free embroidery foot to create circles. This was to link in the barnacles that would be attached later.
This is what was created from the top decoration:

Things that still need to finished:
. The rock sash- experiment with expandable foam
. Clasp finishes/ poppers?
. Attach finishing decoration- barnacles/ seaweed
Saturday, 21 April 2012
Breathe:
On Thursday I had the opportunity to work on the designs that I had been given to construct. I have been given two cloaks to construct from the Hunters group.
During the day I work as a group with the other makers in the Hunters group to work out a way to drape the base layer of the cloaks as all of our designs were very similar just with different lengths and openings and decoration.
It was a very good experience to experiment on my own and have the opportunity to work problem solving without a correct way of constructing the garment.
Below is the base shape for the cloak:


On Thursday I had the opportunity to work on the designs that I had been given to construct. I have been given two cloaks to construct from the Hunters group.
During the day I work as a group with the other makers in the Hunters group to work out a way to drape the base layer of the cloaks as all of our designs were very similar just with different lengths and openings and decoration.
It was a very good experience to experiment on my own and have the opportunity to work problem solving without a correct way of constructing the garment.
Below is the base shape for the cloak:


Progressing from this point:
. Wednesday Breathe session- volunteers to work into the undergarment of the cloak with base colours
. Continue to experiment with different fabrics to create the decoration on the top fabric
Breathe:
On the Wednesday night session me and another Breathe maker had to help in the supervising of a working session.
The work we overlooked was a weaving workshop, this was to re create sections of weave that would be used to create skirts a different dance section of Breathe.
This workshop was interesting to work on as we needed to develop the working process so that it was as simple and effect as possible to create a lot of woven pieces in one session. However it also needed to remain quite simple so the volunteers would remain engaged with the workshop and enjoy it.
Together we managed to find the simplest solution for the workshop. As supervisors we created a right angle with two strips of fabric- the waist length was cut so that it would create half of the waist measurements of each of the actors wearing the skirts
- this was done in pairs so that it made up a full skirt size
. The volunteers then had to choose strips of fabrics to pin horizontally and vertically on the right angled strips
. Strips were then machine stitched in place and once secured woven by hand
Below is an image of one of the final pieces:

Tuesday, 17 April 2012
18th Century Waistcoat:
For the next 3 weeks I will be working on reconstructing a 18th Century waistcoat for the costume store. In this project Dexter, our construction tutor, wants us to be able to assess and develop for ourselves how we look at the costumes we are making.
In our session on Monday we broke up into waistcoat groups and breeches groups and discussed the stages of construction for ourselves. We needed to discuss a rough time plan for when certain stages needed to be completed for.
It is important for us as makers to be able to break down our time wisely. We need to be able to understand how long certain areas will take to construct so we can work within a deadline.
The waistcoat I will be making is part of a set, a pair of breeches are being made to match. Therefore as a team me and Danielle had to cut out our pattern pieces together to ensure we were being as economical as possible. The budget allowed just for each persons pattern pieces to be cut out.
Below are images of the waistcoat I shall be producing over the next 3 weeks:


For the next 3 weeks I will be working on reconstructing a 18th Century waistcoat for the costume store. In this project Dexter, our construction tutor, wants us to be able to assess and develop for ourselves how we look at the costumes we are making.
In our session on Monday we broke up into waistcoat groups and breeches groups and discussed the stages of construction for ourselves. We needed to discuss a rough time plan for when certain stages needed to be completed for.
It is important for us as makers to be able to break down our time wisely. We need to be able to understand how long certain areas will take to construct so we can work within a deadline.
The waistcoat I will be making is part of a set, a pair of breeches are being made to match. Therefore as a team me and Danielle had to cut out our pattern pieces together to ensure we were being as economical as possible. The budget allowed just for each persons pattern pieces to be cut out.
Below are images of the waistcoat I shall be producing over the next 3 weeks:




Subscribe to:
Posts (Atom)